Phone: 315-849-1984 | Email: info@mzconstruction.com
Home
Services
Specialty Services
Access Flooring
Digital Layouts
EIFS/Stucco
Fireproofing
Manufactured/Modular Cabinetry
MPD Medical Carts
Plaster
Specialty Storage
Standard Services
Ceilings
Drywall
Light Gauge Load Bearing
Premanufactured Construction Systems
Wood Load Bearing
Projects
Regional Project Map
About Us
News
Our Team
Organizations
Contact
Merch Shop
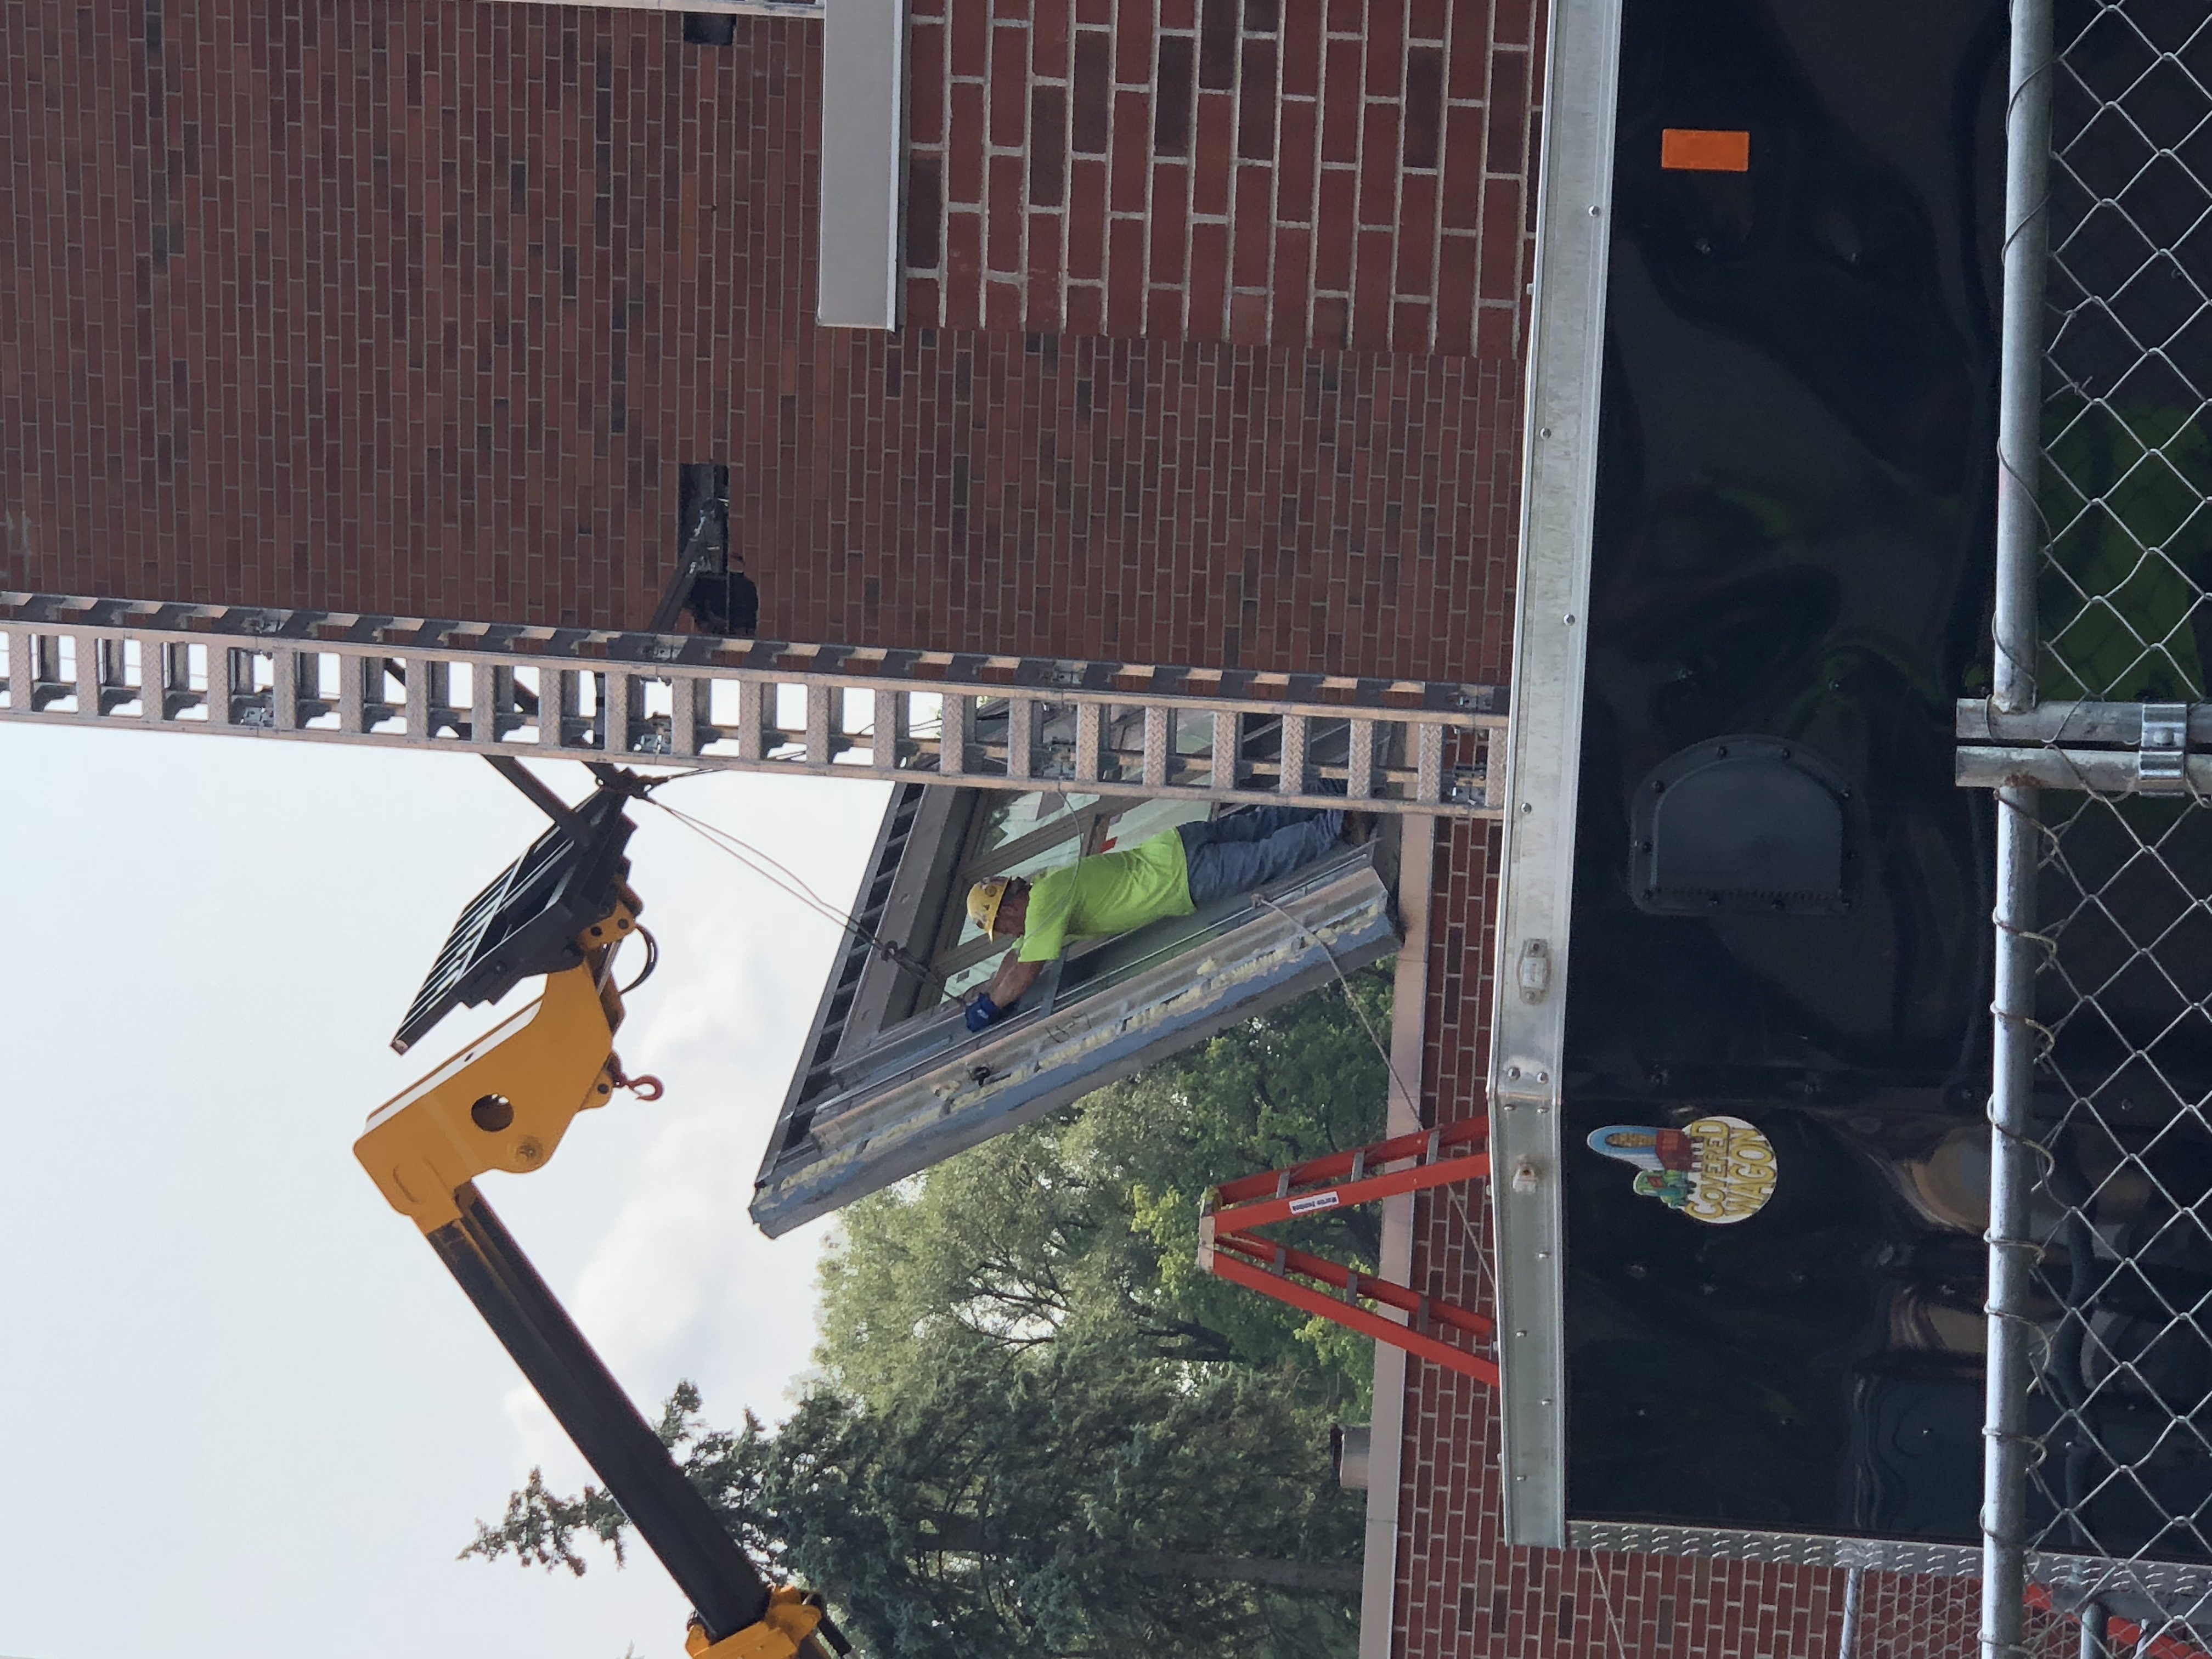
Photo 6
Photo 6
Write a Reply or Comment
Cancel reply
You must be
logged in
to post a comment.
© 2023 Martin Zombek Construction Services, Inc. All rights reserved.
Home
Services
Specialty Services
Access Flooring
Digital Layouts
EIFS/Stucco
Fireproofing
Manufactured/Modular Cabinetry
MPD Medical Carts
Plaster
Specialty Storage
Standard Services
Ceilings
Drywall
Light Gauge Load Bearing
Premanufactured Construction Systems
Wood Load Bearing
Projects
Regional Project Map
About Us
News
Our Team
Organizations
Contact
Merch Shop